Posts

Imagined Landscaped

Image
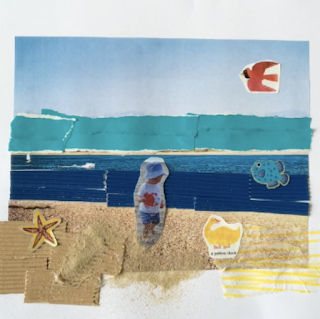
  Hello and welcome to Mini Makers at Home! In this session we will take inspiration from our favourite picture books, along with our favourite people and places, to create an imagined landscape. You will need: - Photos/magazines - Paper - Glue - Scissors - Stickers and other things to decorate!     

Tin Foil Sculpting

Image
Hello and welcome to Mini Makers at Home! In this post, we're going to be using tin foil as a sculpting tool!   You will need: - Tinfoil - Tape             Don ’ t forget to share your artwork with us by tagging @aspex_takepart and using the hashtag #AspexatHome.

Time Capsules

Image
Hi everyone! The theme of this post is connecting across generations, so we're going to be making time capsules!  A time capsule is a container storing a selection of objects that commemorate the current time, to be put away and discovered in the future. The idea with ours is to create a time capsule about our life as it is at the moment, and to hide it away for a really long time until we've grown up and can show future generations the treasures inside!

Nature Play

Image
Hi everyone! The theme of this post is The Natural World. So what we are doing is using clay and natural objects to create playful sculptures. Remember to pick any plants or flowers responsibly and don't forget to share your creations with us!      You will need: - Clay - Leaves - Sticks - Stones          

Embossing with Jordan

Image
Hi everyone! Jordan here, I hope you are all well! In this post, we will be making a family timeline using custom motifs that represent ourselves and embossing them. Scroll through to find out how to make it! You will need: - Thick paper or card - Scissors - A spoon - Pen - Tape As well as these items, we need to use a clean kitchen or bathroom sink. TOP TIP! This process works best on thicker paper! Soak your paper to soften the fibers. Fill your clean sink with water about a finger's depth will suffice. Fully submerge your paper into the water and soak for a minimum 10 mins. You may want to add a timer. Note! You may want to get stages 2 to 4 done within this 10 minute or so time scale. If not just leave your paper in the water until you are done. On your cereal box card draw your motif out 3 times. TIP! It’s best to keep your shape super simple, try to translate your image into a silhouette with clean edges as seen in the image. Once drawn out cut out all 3 symbols and glue / ta...
Textiles

Image
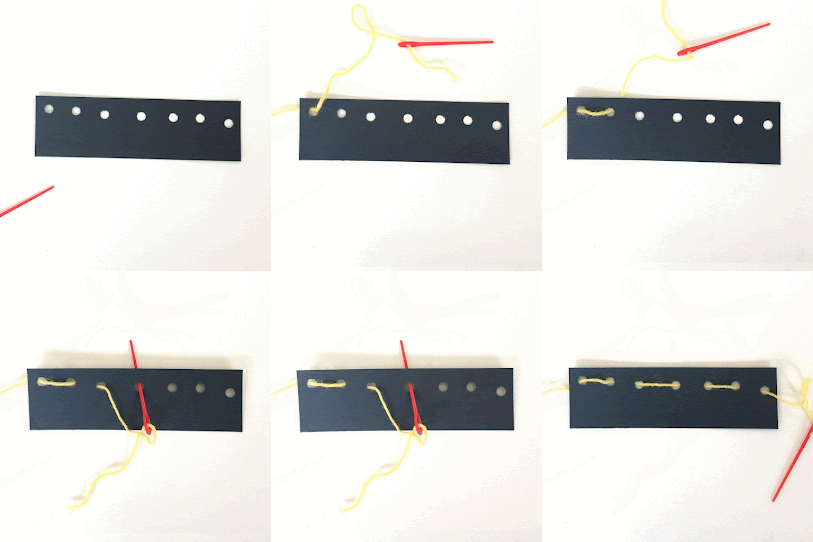
Hi everyone! This post is all about getting started with simple embroidery techniques. You will need: - Card - Hole punch  - A needle (or some tape) - Thread                 

Collage Characters with Abi

Image
Follow this post to make some cut-and- paste  collage characters inspired by the artwork of Hannah Höch .          You will need:  - Magazines - Scissors - Card  - And glue if you want to keep your characters       Cut out eyes, noses and mouths from some old magazines. These can be any size and if you don't have any magazines you're able to cut up, you can print off some  Arrange them to make faces. Move the features to change their expressions. Don ’ t forget to share your artwork with us by tagging on Instagram @aspex_takepart and using the hashtag #AspexatHome.